Renewabuild Academy

Learn to build our structural hempcrete
wall system.

A step-by-step video series covering every stage of installation — from the first string line to the final scratch coat — for builders, contractors, architects, and developers working with our block system.

Built to be learned,
not just delivered.

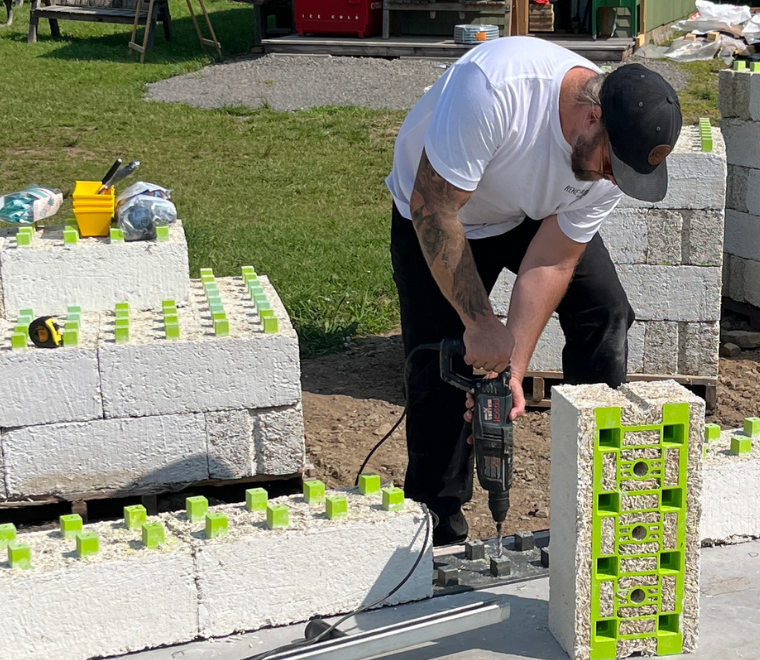
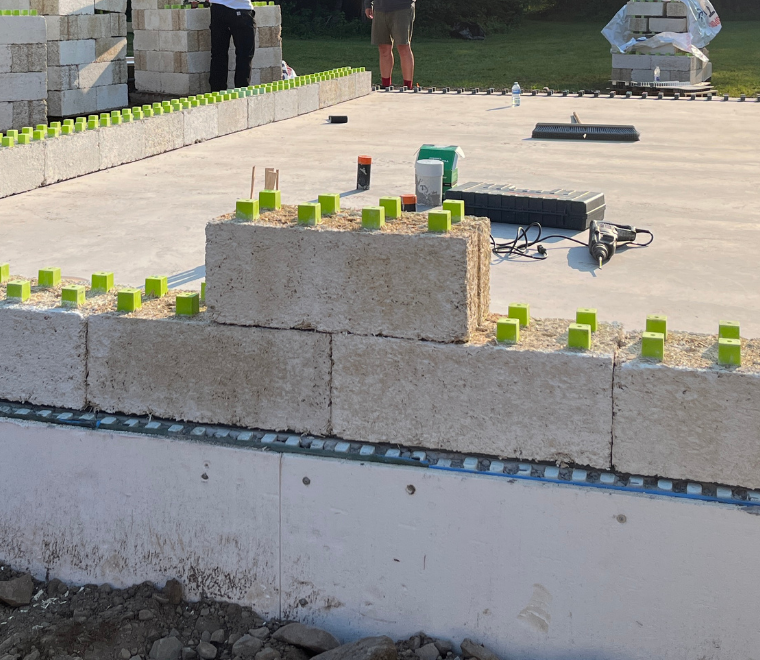
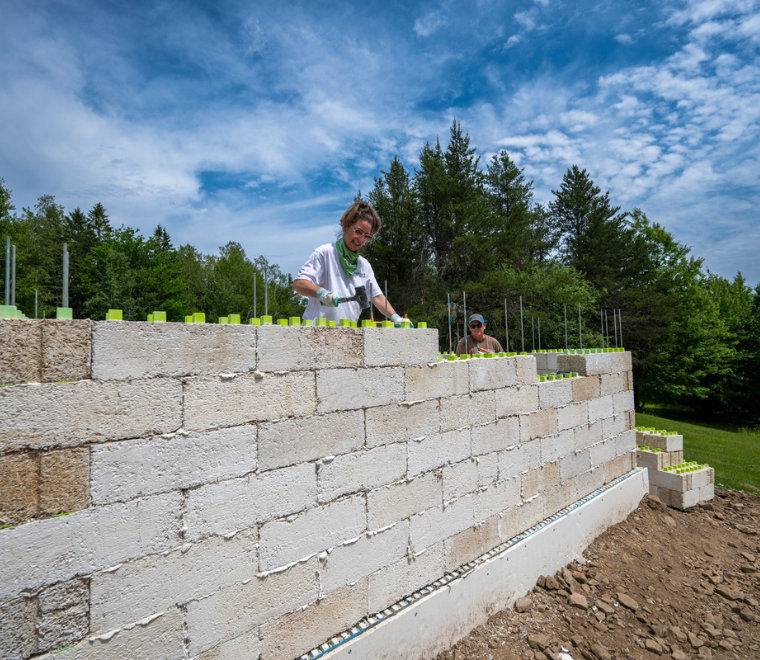
Our post-tensioned hempcrete block system replaces conventional framing, insulation, and drywall with a single structural assembly — which means the build sequence looks different from a typical wood-frame or CMU job. Renewabuild Academy walks your crew through each stage on camera, in the order you’ll actually encounter it on site.

Work through the series in order for a full walkthrough, or jump to the stage you need before your next pour, course, or inspection.

12

Video lessons, laid out and stacked to finish coat

~3 MIN

Average length — built for the jobsite, not a classroom

The build, stage by stage.

Twelve lessons, from layout to finish coat. Each links out to the full video.

Layout

String Line & Dry Fit

Setting your line and dry-fitting the first course before anything is set permanently. 

Foundation

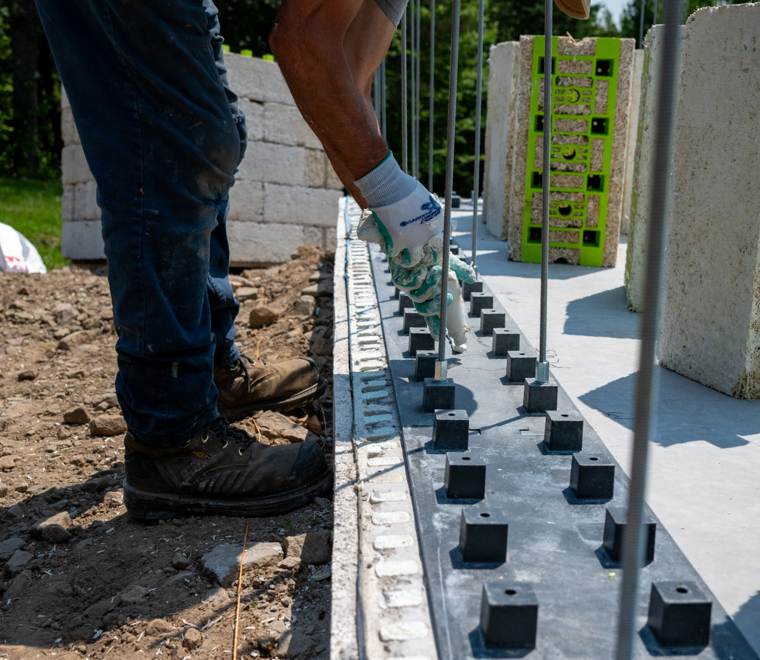
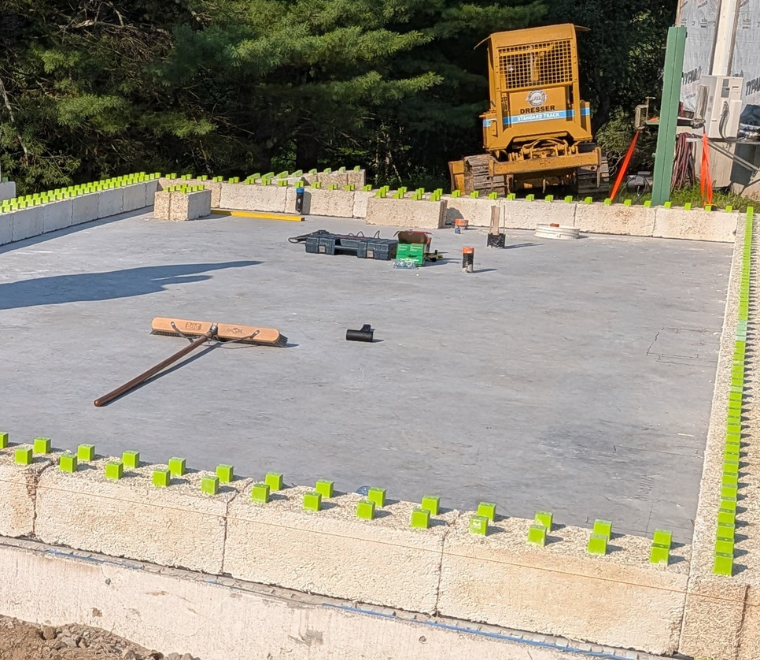
Anchoring the starter strip

Fixing the starter strip that locates and anchors the entire wall above it. 

Structure

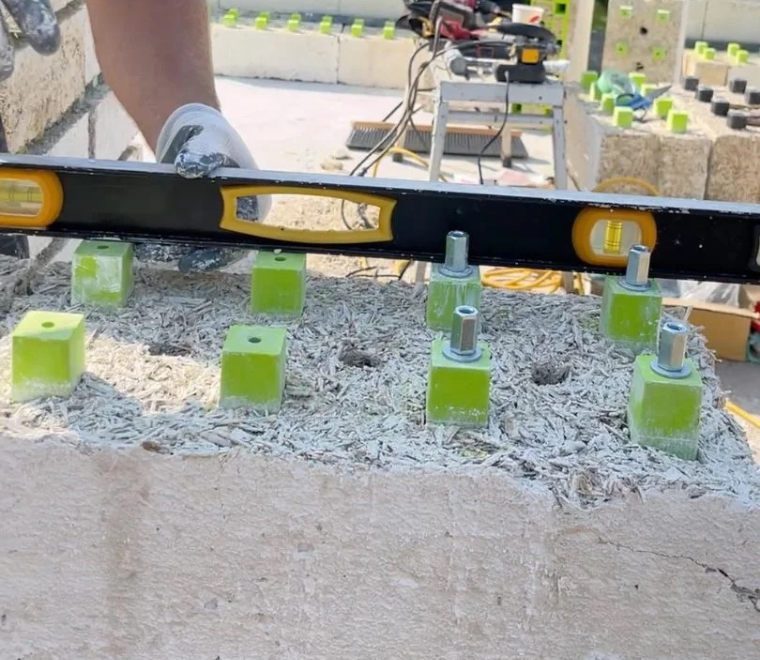
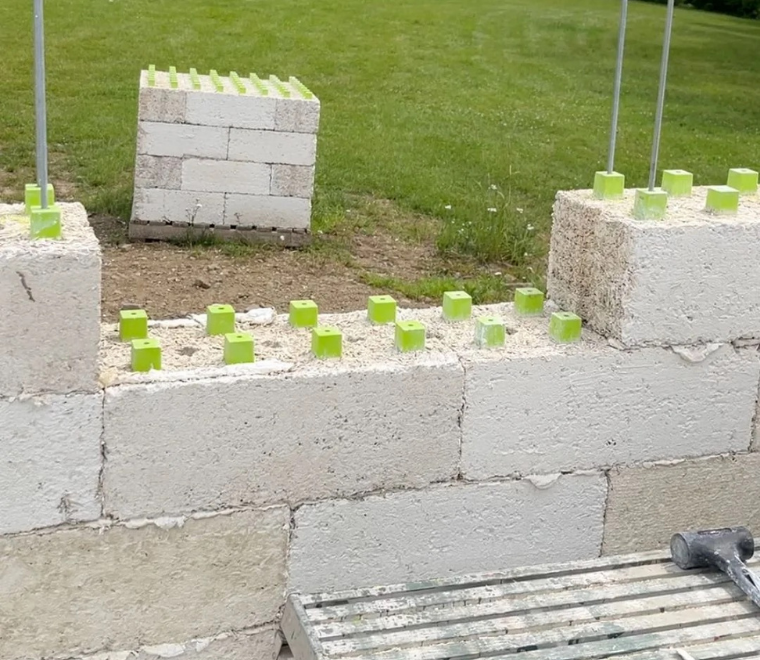
Setting the tensioning rods

Placing the post-tensioning rods that give the wall its structural integrity. 

Materials

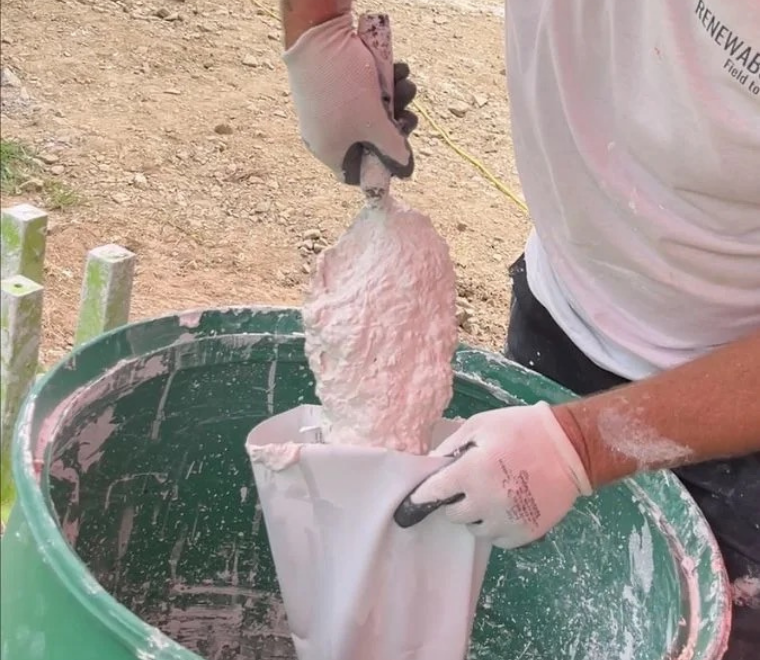
Mixing the mortar

Getting the mix and consistency right before you lay a single block. 

Block-laying

Laying the first row

Why the first course matters more than any other and how to get it square. 

Block-laying

Building the second row

Picking up pace and rhythm once your first course is locked in.

Structure

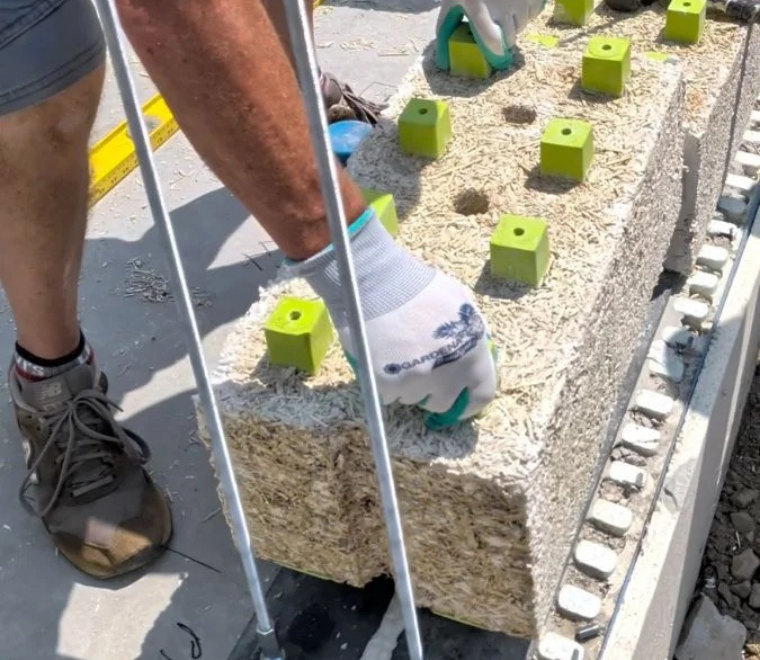
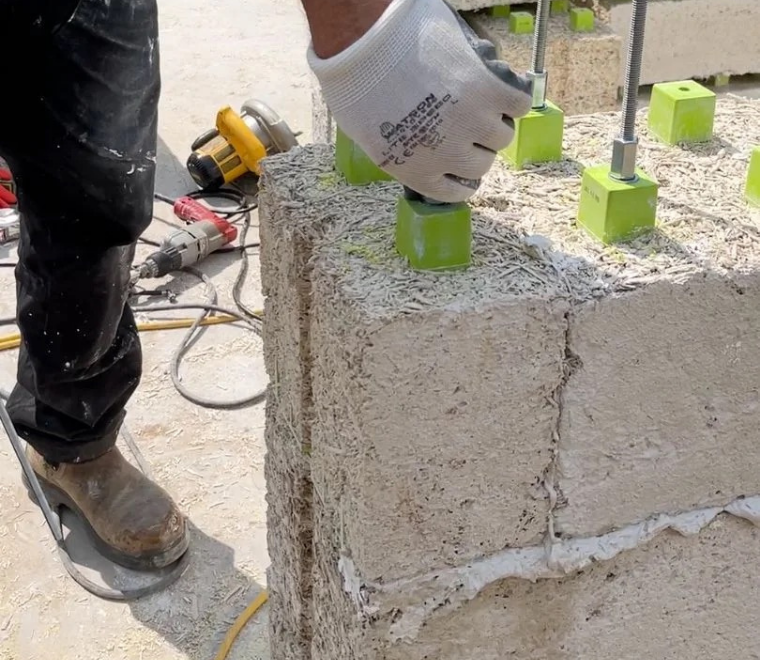
Coupling the tension rods

Extending your rods cleanly as the wall gains height.

Structure

Adding the second rod row

Layering in additional tensioning as the assembly builds up.

Structure

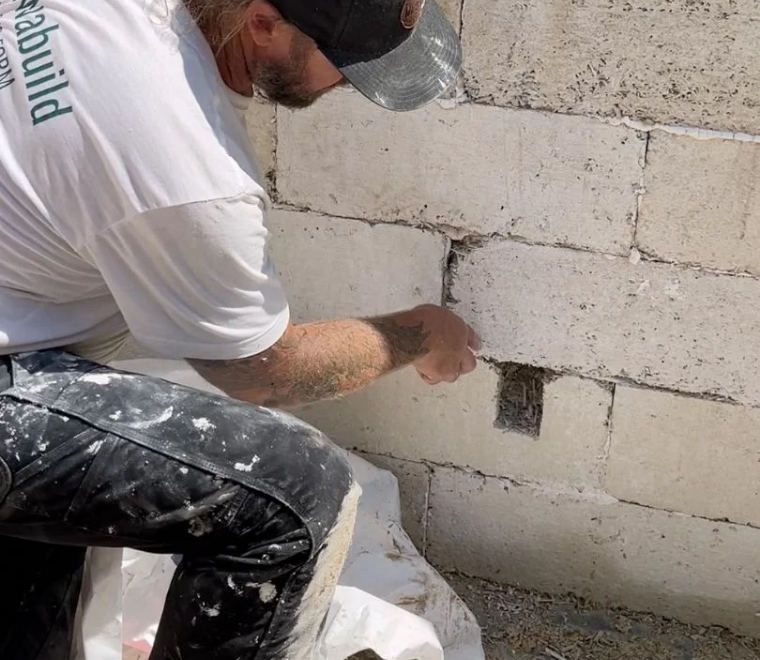
Setting an electrical box

Coordinating rough-in electrical work within the block assembly. 

Troubleshooting

Fixing a mistake mid-wall

What to do when a block goes in wrong – without tearing down your progress. 

Finishing

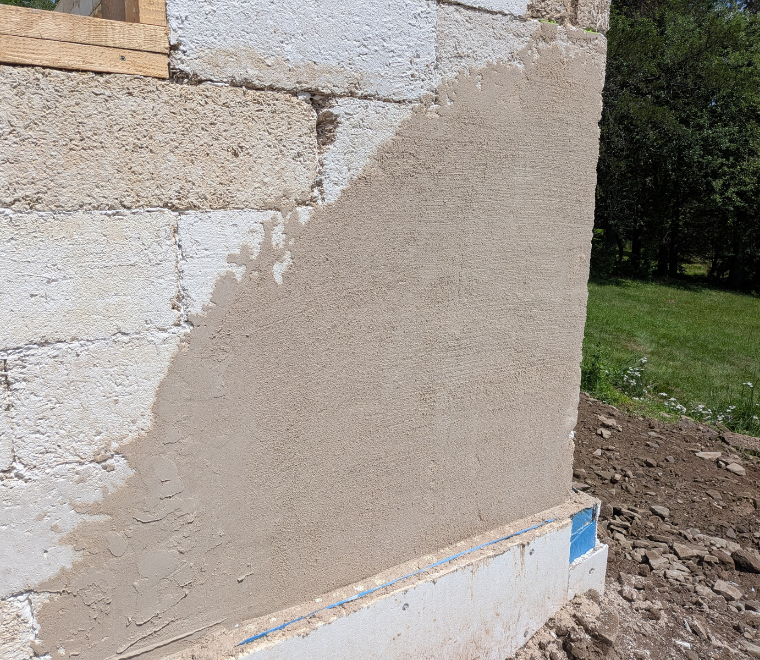
Applying the scratch coat

The first finish layer that preps the wall for it’s final surface. 

Openings

Framing a window opening

Working openings into the block layout without compromising the wall. 

Scroll to Top